Lesson · 3rd & 4th Grade
Map Scale
The first part of this lesson teaches the names and locations of the continents, as students build their own map of the world. The second part teaches map scale, using the scale on a textbook map to convert map distances into real-life distances.
The big idea
Students first construct their own map of the world by coloring, cutting, and gluing continents, ocean labels, and a compass. Then they learn that, unlike the maps they just made, most real maps include a scale. A scale lets a map reader figure out the real-life distance between two locations. As one way to put it: two cities that sit a couple of inches apart on a map are not really a couple of inches apart in the world, so we use the scale to find out how far apart they actually are.
Learning objectives
By the end of the lesson, students will be able to:
- Name and locate the continents on a world map.
- Explain what a map scale is and why maps need one.
- Copy a map's scale and record what it equals in real units.
- Convert a measured map distance into a real-life distance.
Common Core alignment
- CCSS.MATH.CONTENT.4.MD.A.2
Use the four operations to solve word problems involving distances, intervals of time, liquid volumes, masses of objects, and money, including problems involving simple fractions or decimals.
Adding or multiplying scale lengths to find a real-life distance is the kind of measurement word problem this standard names.
- CCSS.MATH.CONTENT.7.G.A.1
Solve problems involving scale drawings of geometric figures, including computing actual lengths and areas from a scale drawing and reproducing a scale drawing at a different scale.
Reading and applying a map's scale to find actual distances is a hands-on entry into the scale-drawing work this standard formalizes.
Materials
- Continent sheets, pages 113–115 (1 set per student)
- Crayons (1 box per student)
- Scissors (1 per student)
- 12" × 18" construction paper (1 per student)
- Dark markers or pens (1 per student)
- Rulers (1 per student)
- Social studies textbooks with scaled maps (1 per student)
- An overhead transparency of a textbook map, plus a blank transparency (for the teacher)
- Note cards (1 per student)
- The completed project, prepared by the teacher before the lesson
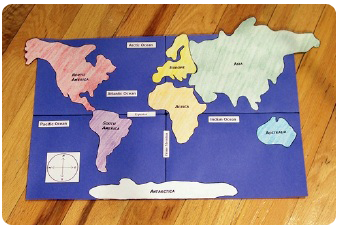
Creating the map
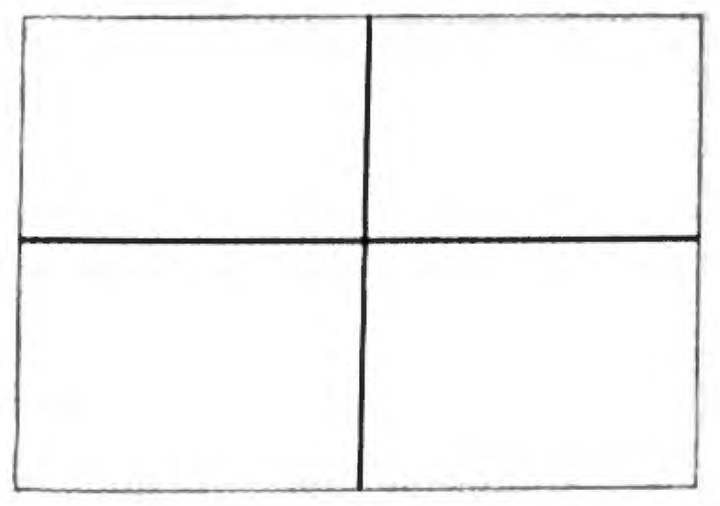
Each student folds a 12" × 18" sheet of construction paper in half twice. After unfolding it, they use a dark marker and ruler to draw lines on top of the fold marks; these lines form the equator and prime meridian of the map. Students color the continents before cutting them out, working slowly and patiently along the wiggly borders. Hang a previously constructed map at the front of the room so students know where to glue the continents, ocean labels, and compass, and have them check with the teacher before applying glue.
Teaching map scale
Once the maps are built, hand a social studies textbook to every student and ask them to turn to any map that includes a scale. You will probably need to draw an example of a scale on the board. Put the overhead transparency map on the projector and, using a blank transparency, show students how to copy any map scale onto the edge of a piece of paper. Students then copy their own map's scale onto a note card, writing down what the scale equals in real-life units of measurement such as miles or kilometers.

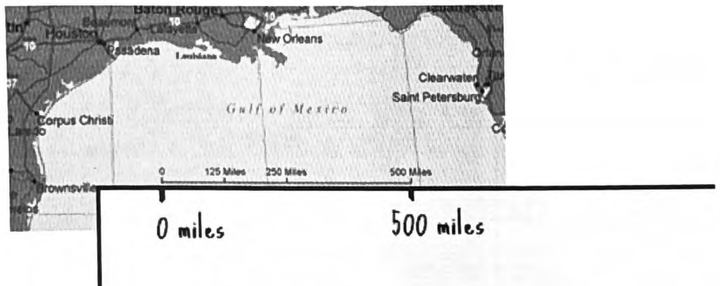
Next, model the conversion using two labeled points on the transparency map, preferably two towns or cities. Show students how to see how many times the copied scale fits between the two locations.
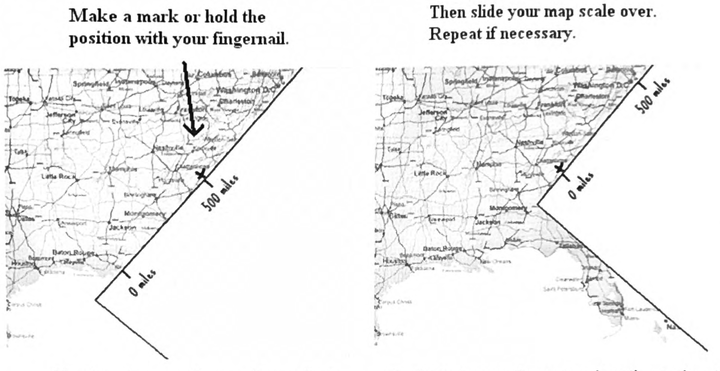
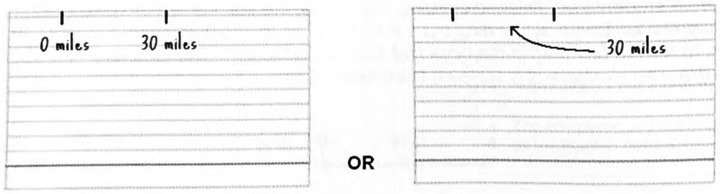
For simplicity's sake, do not strive for complete accuracy in that count; the goal is to teach the method. If the scale states that each length equals 500 miles and it fits about twice, the real-life distance is found with addition or multiplication: 500 plus 500 is 1,000 miles. It helps to show students how to draw and later erase small pencil dots in their textbooks to mark how many times the scale fits, or how to estimate each mark with a fingernail. After modeling at least twice, let students measure and convert the distance between any two labeled locations on their own maps, doing all calculations on their note cards. Finally, students trade maps and note cards with a partner to check each other's work.
Common student mistakes
- Treating map inches as real inches. The whole point of a scale is that the two are different; keep returning to that.
- Copying the scale inaccurately. A sloppy copy on the note card throws off every conversion that follows.
- Forgetting the real-life units. "Two" is not an answer; "1,000 miles" is. Have students label units on the note card.
Related lessons
Centimeter Measurement
Reading and copying a scale relies on the careful ruler use taught here.
Multiplication
Turning 'the scale fits twice' into a real distance is repeated addition or multiplication.
Inch Measurement
Another lesson that drills precise measurement, the skill behind reading a scale.
Perimeter
Both lessons add up measured lengths to describe a real distance.